Function and Rule Description
• When you click on "Expenses", you'll see a menu with four options: Expense Request, Review Expense, Trip Request and Review Trips.
• If you click on Review Expense, there are two possibilities.
1. If there are no expenses created yet, you'll see an empty screen.
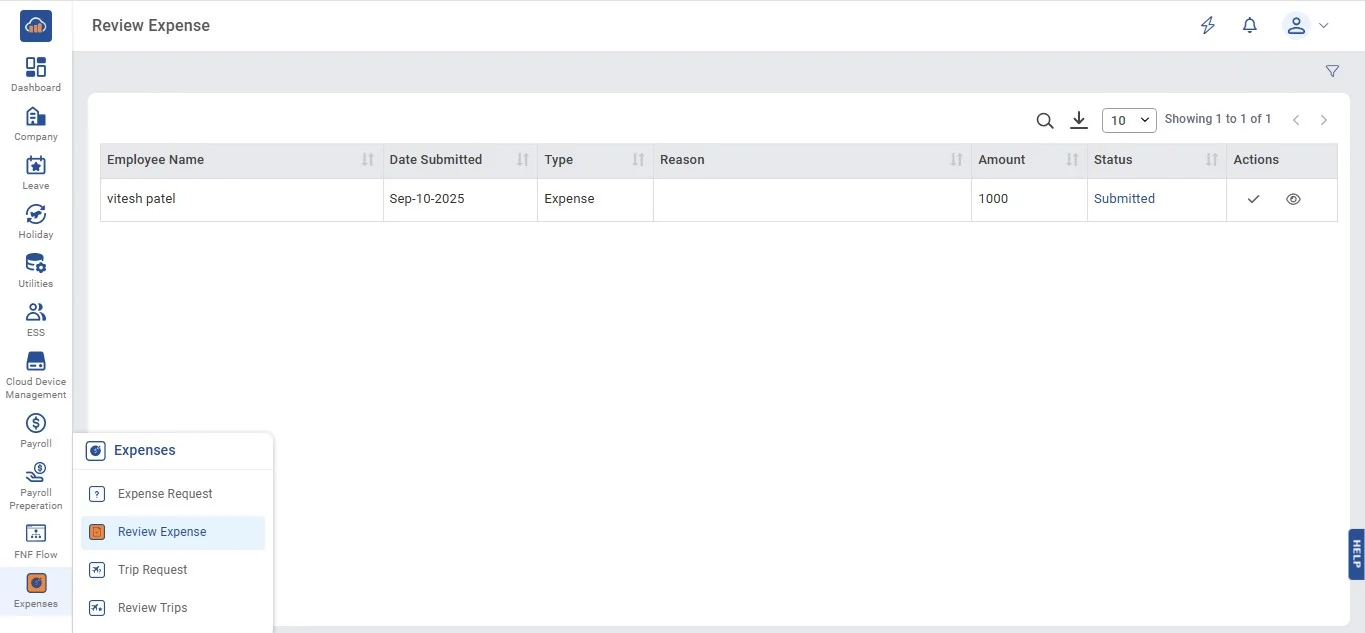
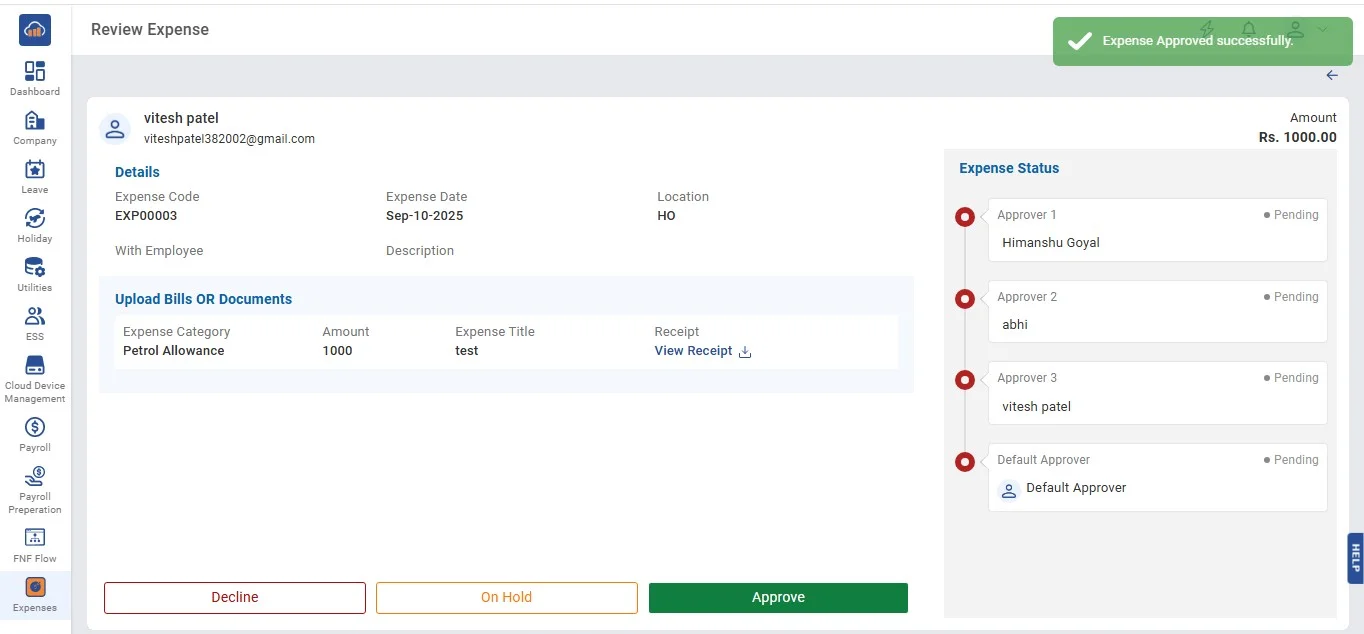
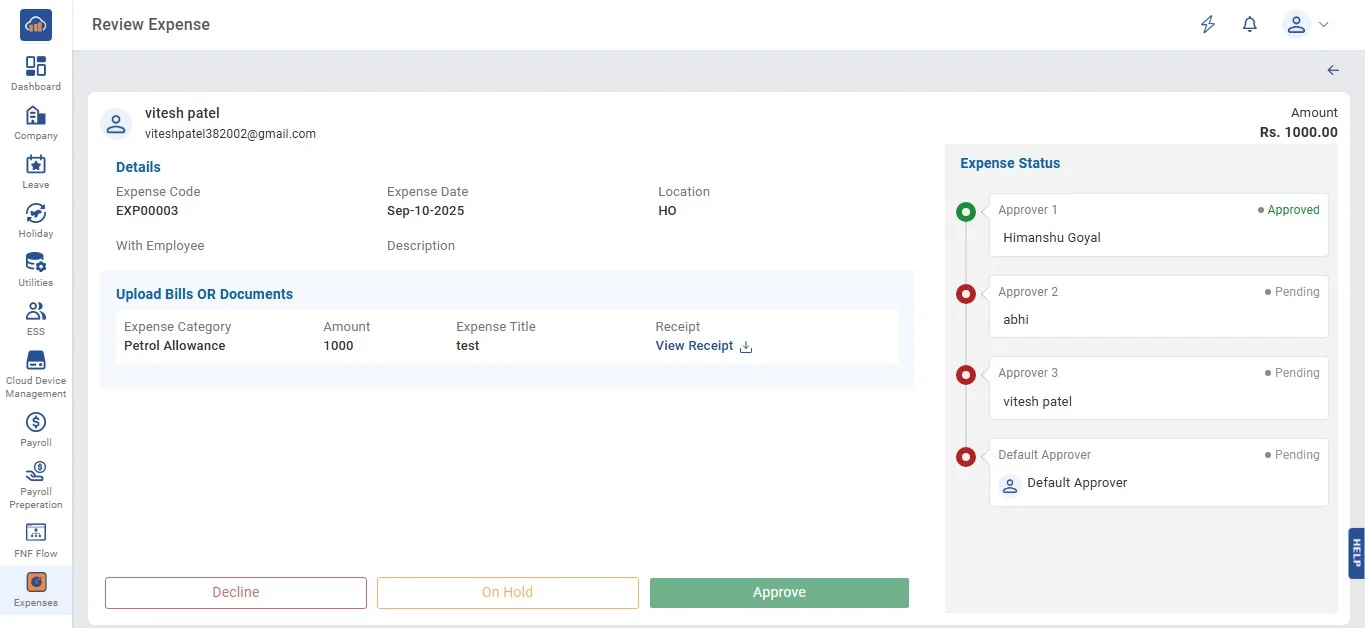
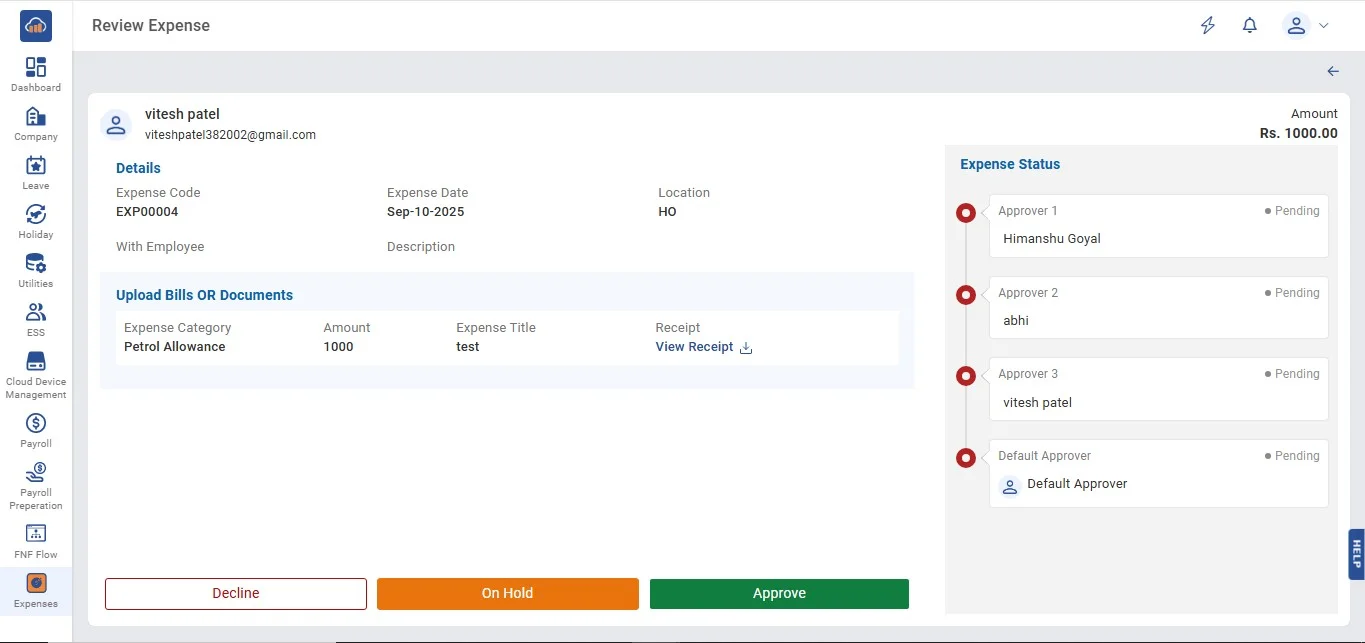
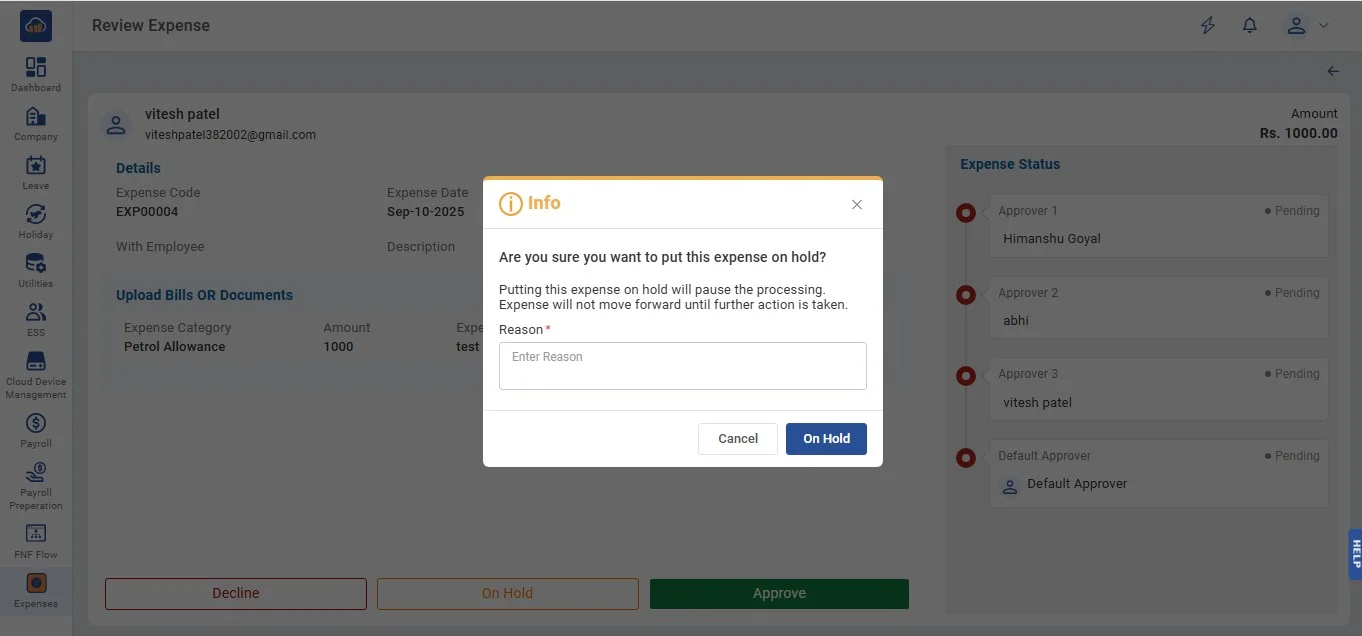
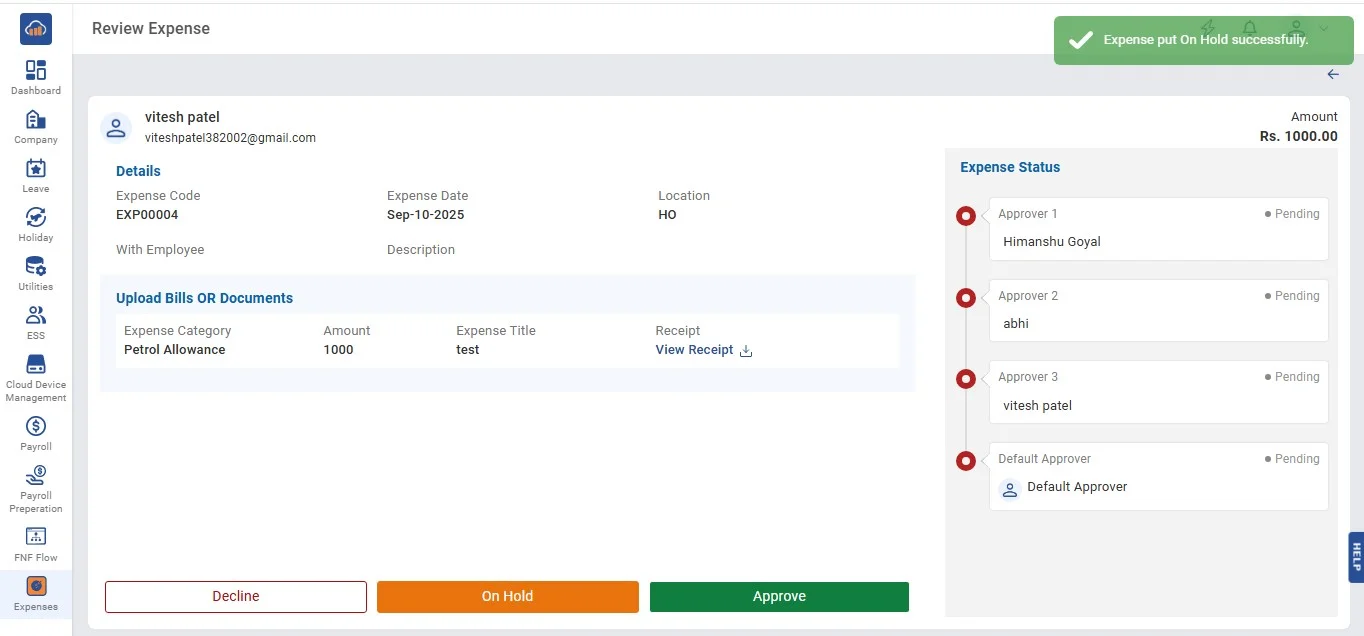
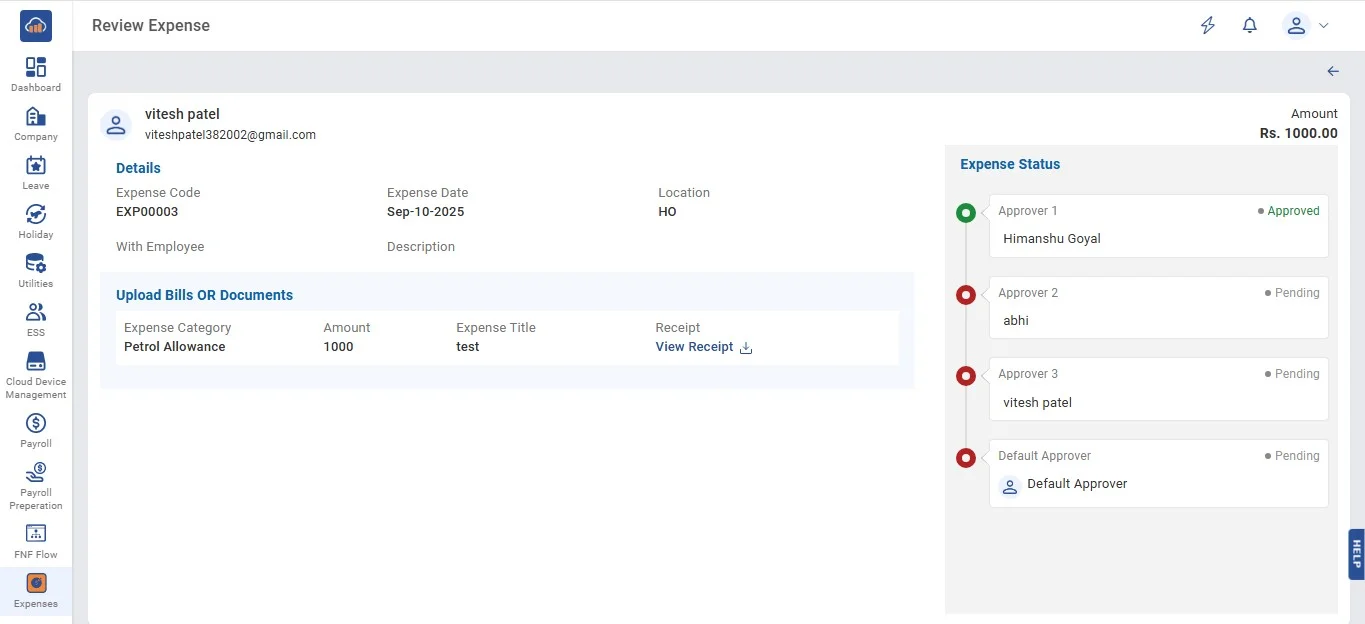
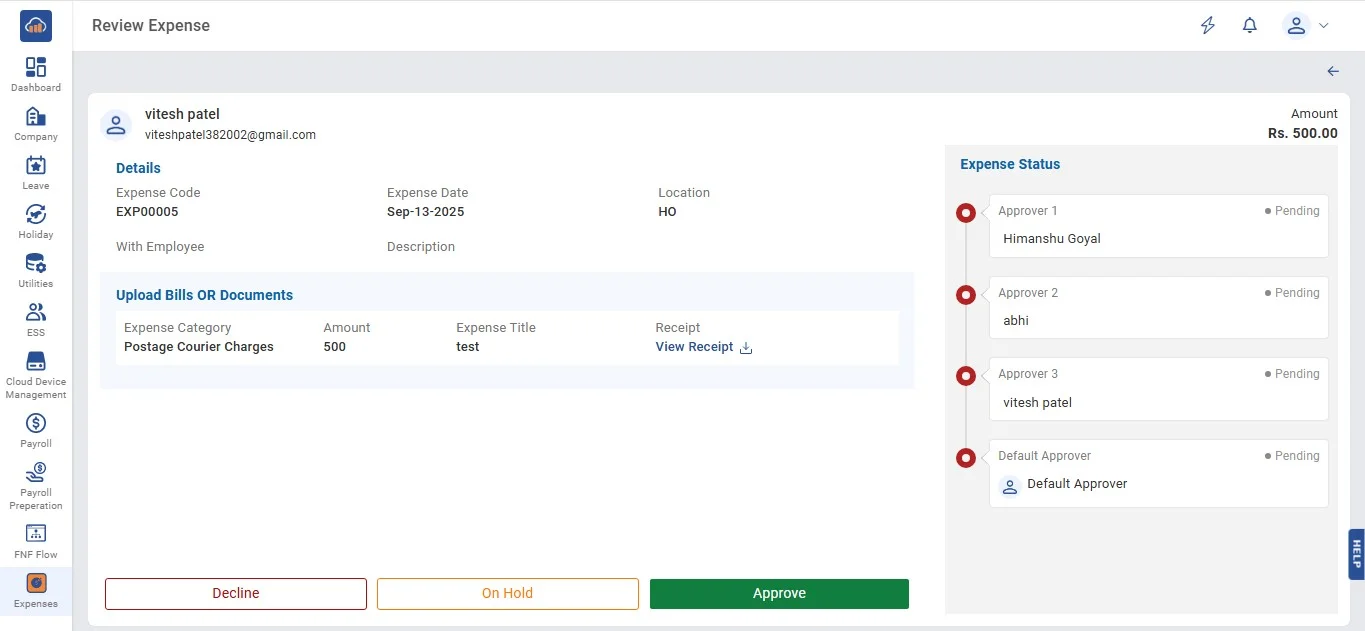
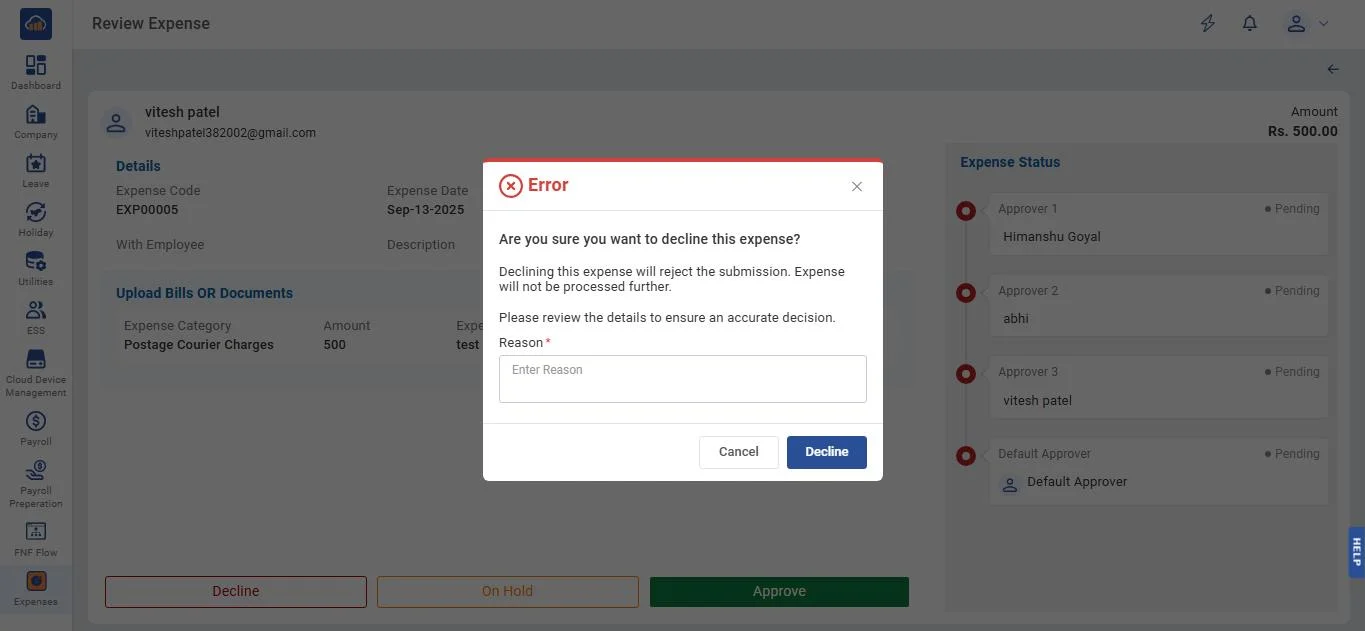
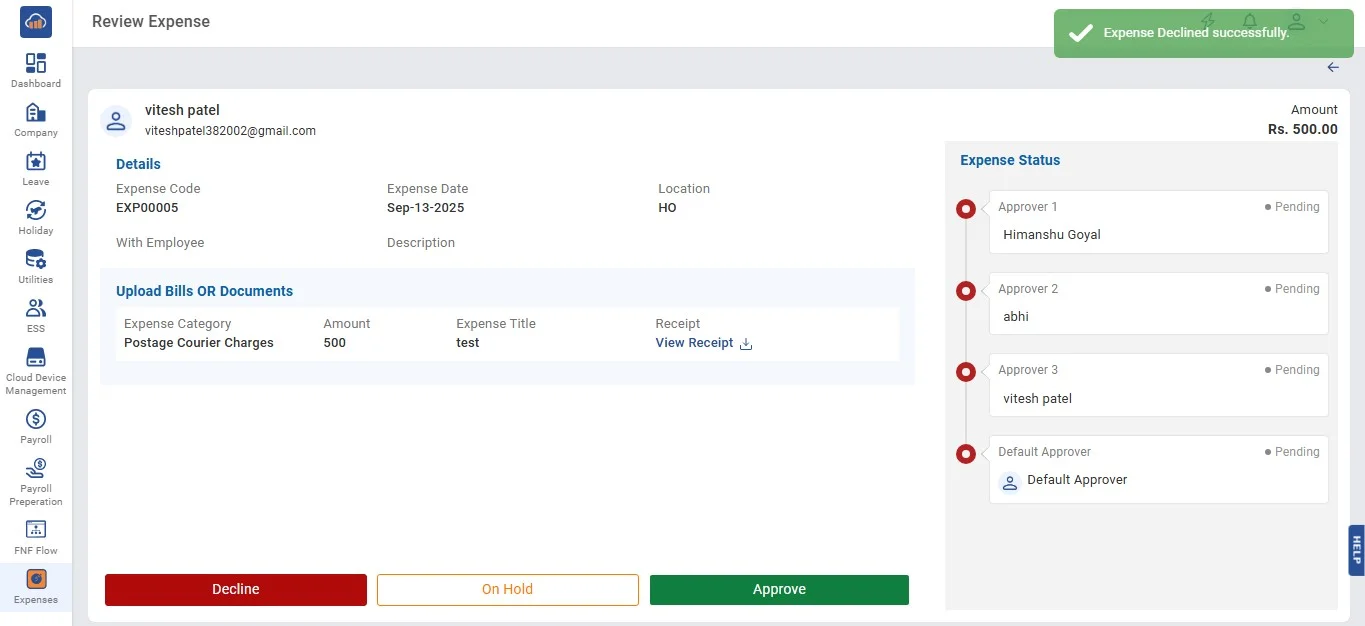
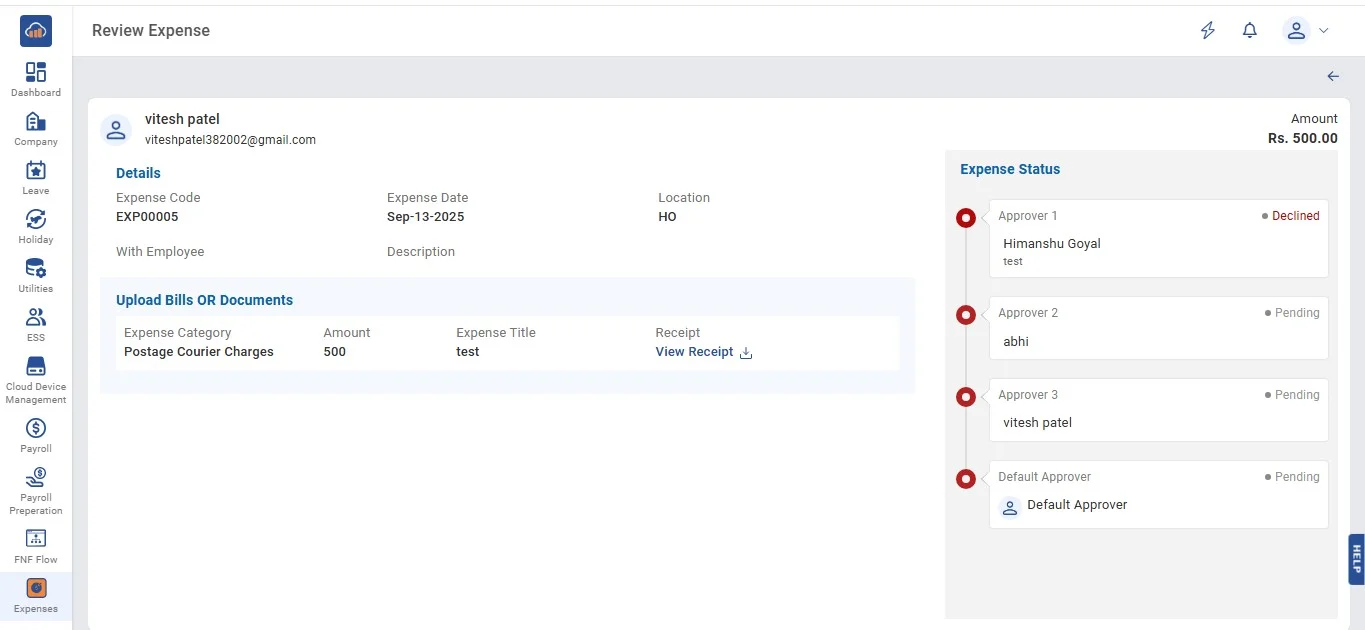
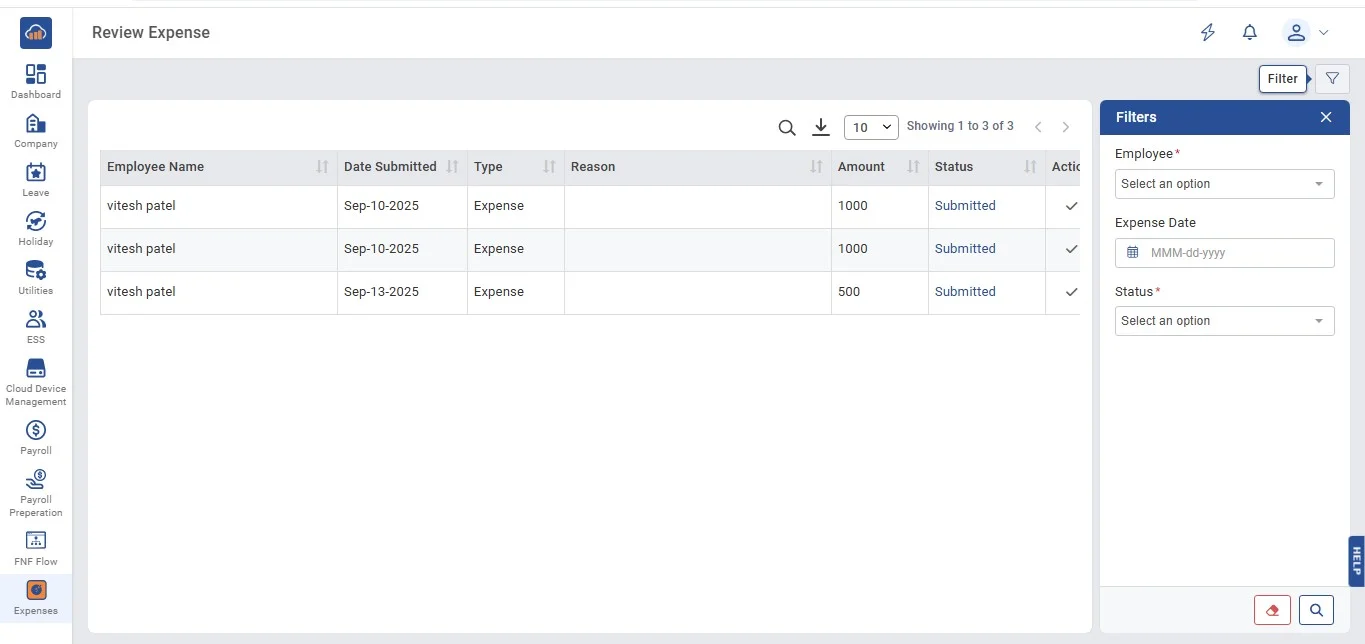
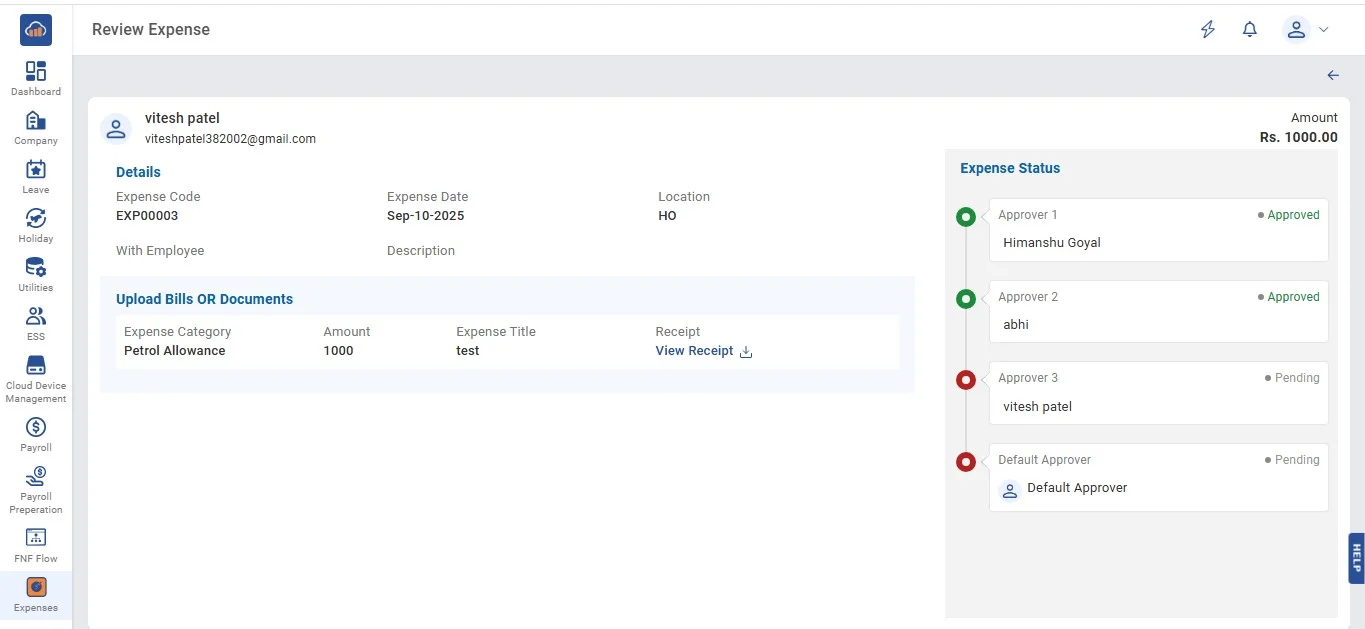
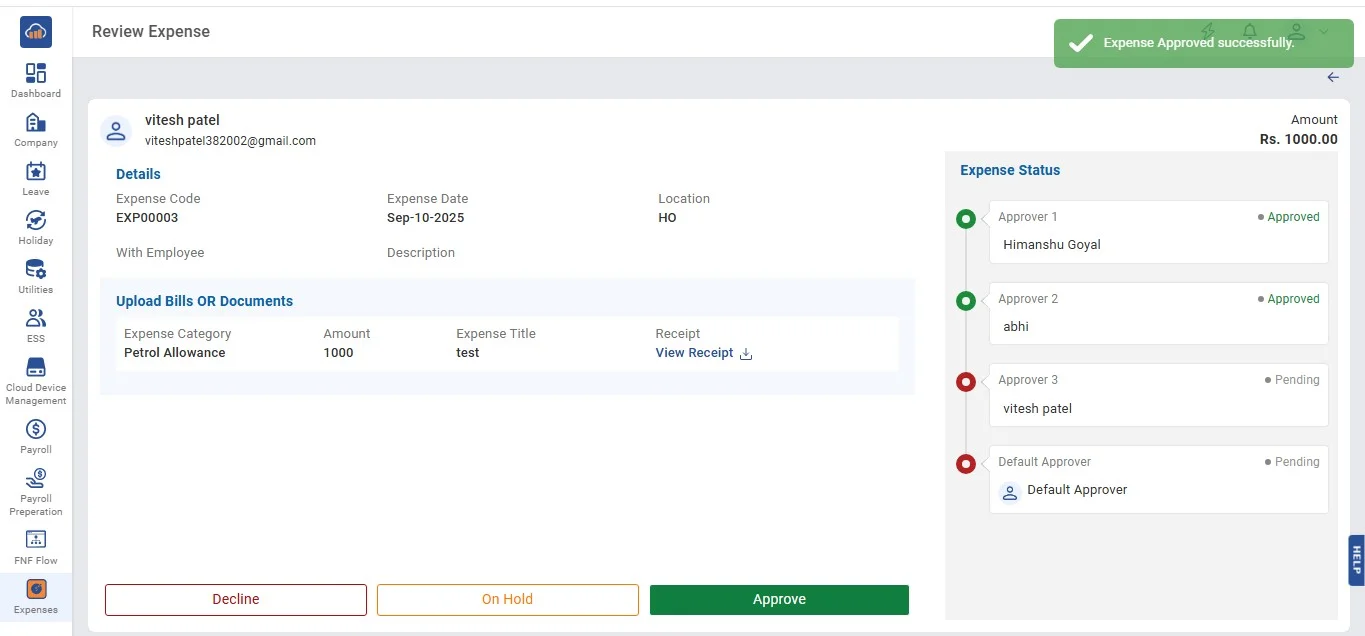
2. When a user visits the Review Expense page, they can see the following table in which they can see the status submitted. In action, they can click on the "Approve" button to approve.