Policy

Overview

Field Details
Roles Admin/Manager Only
Type MINOP - MTrack Management System - Policy Module
Device Web Application

Goal/Scope

The Policy module in the MTrack Management System allows administrators to create and manage work policies for field employees. Each policy defines the default geofence radius, task creation permissions, and proof of work requirements. Policies ensure consistent tracking rules are applied across the field workforce.

Step 1: Access the Policy Page
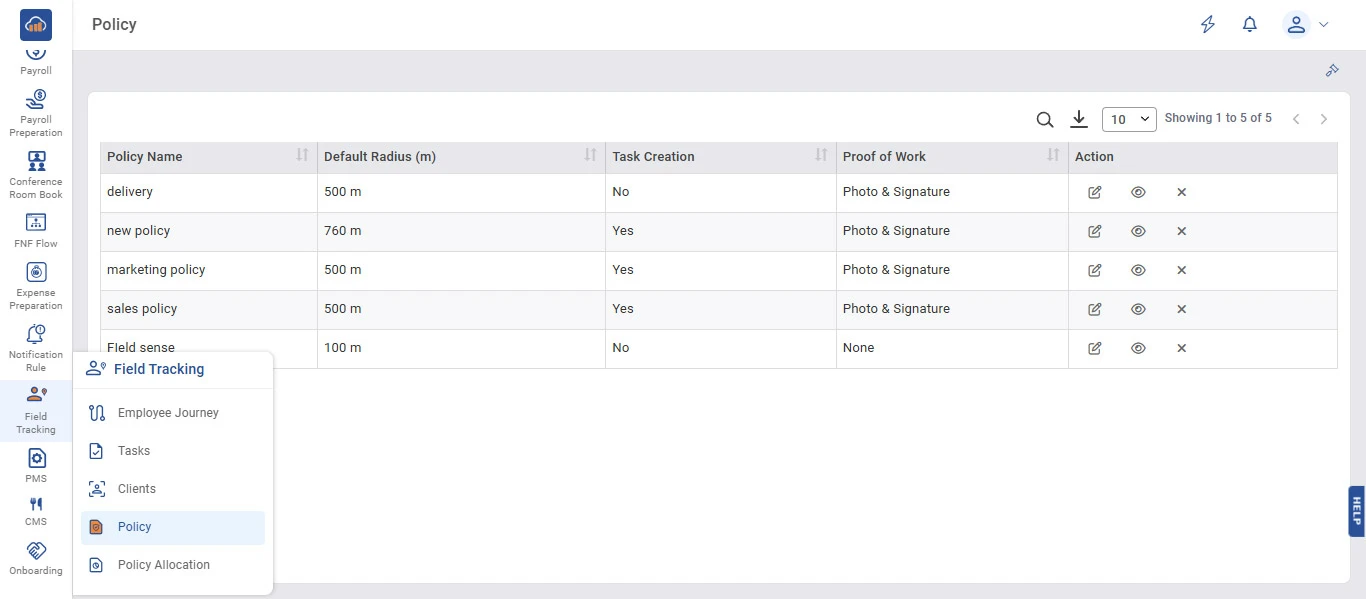
From the left navigation menu, click on "Field Tracking" to expand the submenu. Then select "Policy".
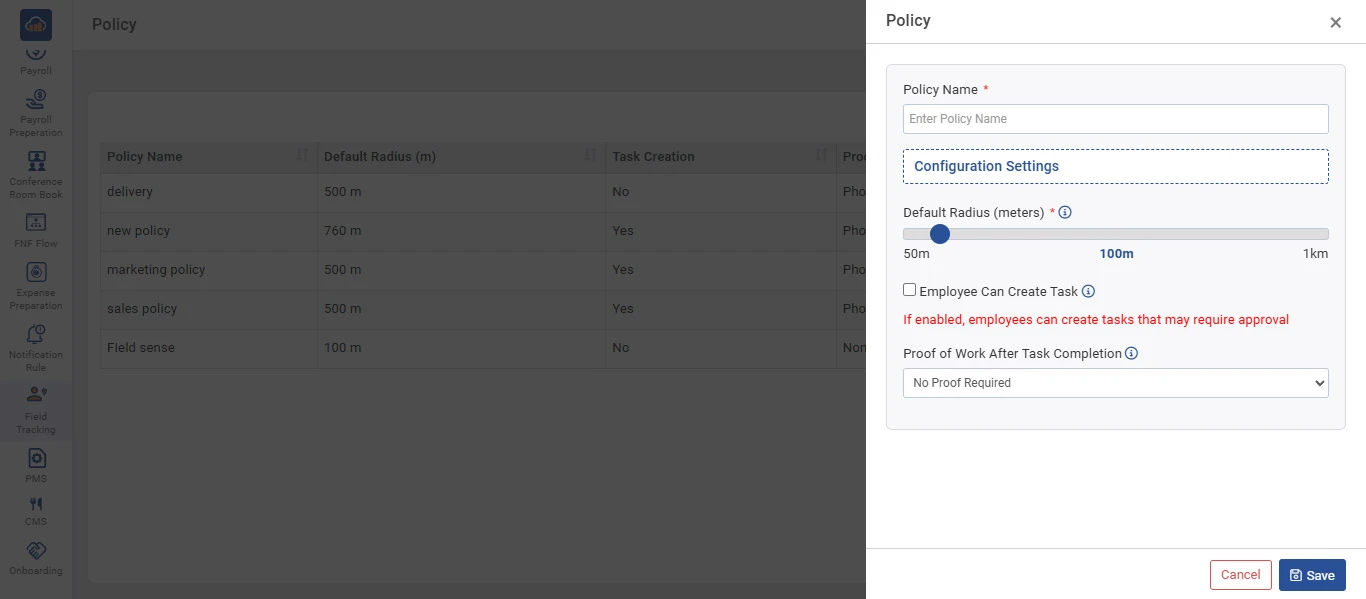
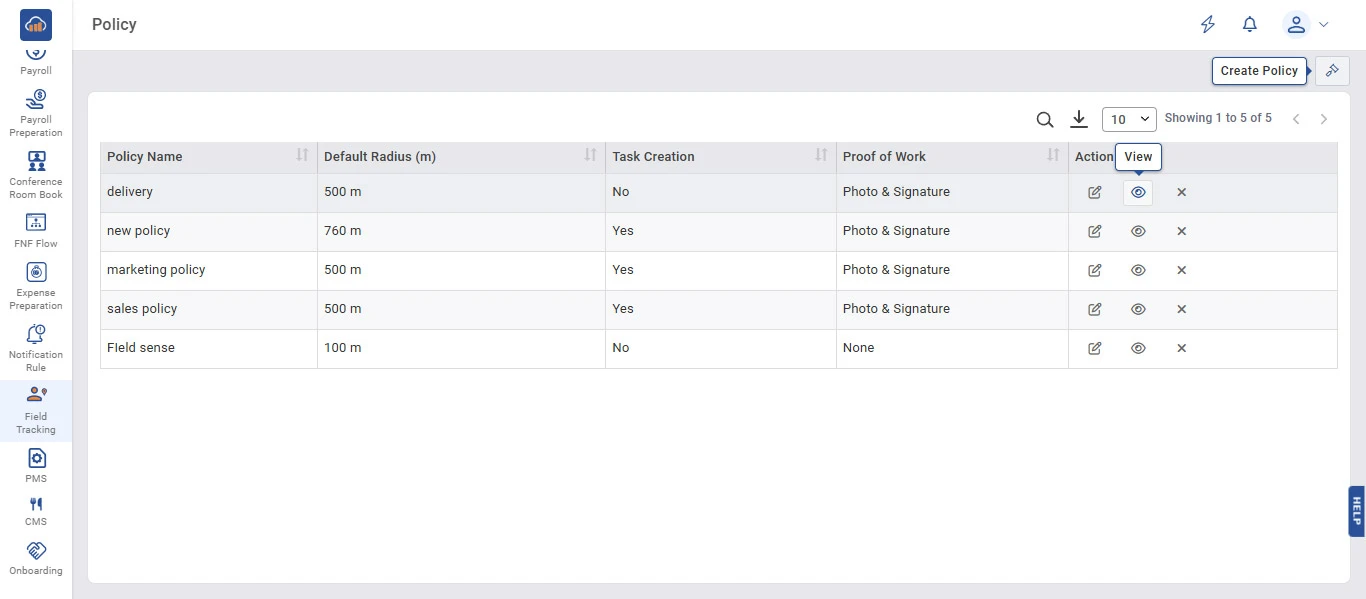
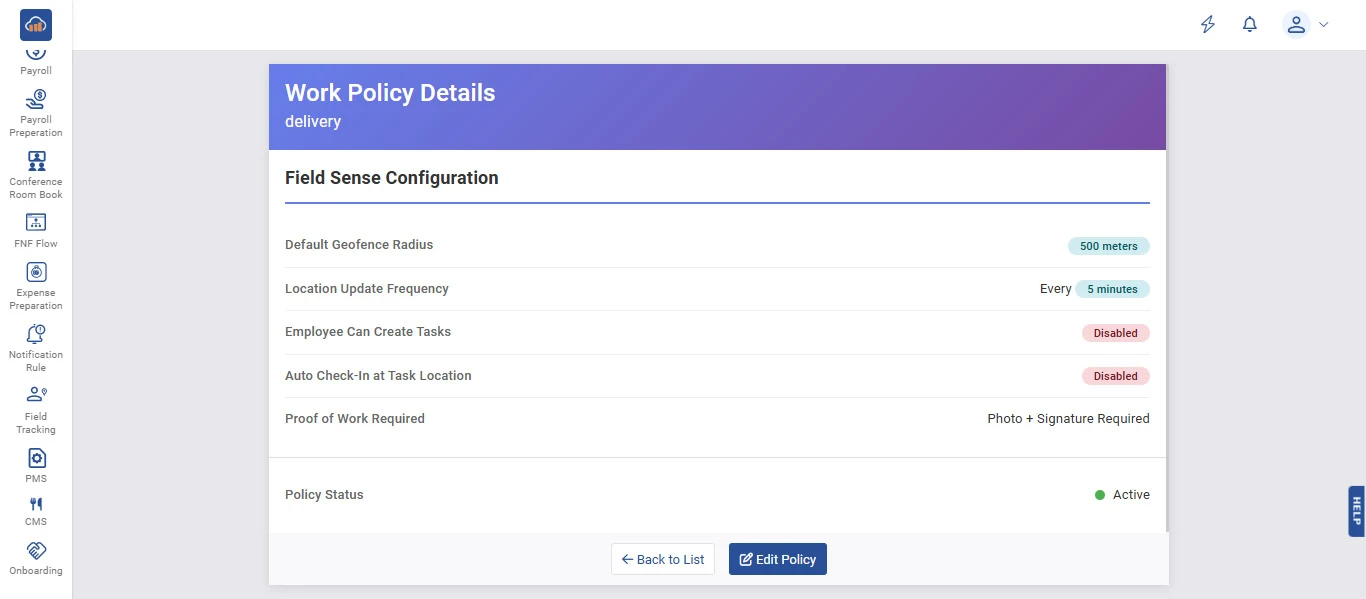
The Policy page displays all existing policies in a table with columns: Policy Name, Default Radius (m), Task Creation, Proof of Work, and Action.

Users can search for specific policies using the Search icon, download policy data using the Download icon, and control the number of records displayed per page.

img

Step 2: Create a New Policy

To create a new policy, click the "Create Policy" button at the top right corner of the page.

A side panel will open with the following fields:

Field Description
Policy Name * Enter a name for the policy (mandatory field).
Default Radius (meters) * Set the geofence radius using the slider (range: 50m to 1km). This defines the default boundary area for field tracking.
Employee Can Create Task Enable this checkbox to allow employees to create tasks. If enabled, employees can create tasks that may require approval.
Proof of Work After Task Completion Select the type of proof required after task completion from the dropdown (e.g., No Proof Required, Photo & Signature).

After filling in all the required details, click "Save" to create the policy. Click "Cancel" if you do not want to proceed.

img

Step 3: View and Edit Policy

In the Action column of each policy row, there are three icons available:

Icon Action
Edit Opens the policy form in edit mode to modify policy settings.
View Opens the detailed Work Policy Details page showing the full configuration.
Delete (X) Removes or deactivates the policy.

Hover over the "View" icon (eye icon) in the Action column to see the tooltip. Click on it to view the complete policy details.

img

Step 4: Work Policy Details

After clicking on the "View" icon, the Work Policy Details page opens, displaying the complete configuration of the selected policy.

The details page shows the following Field Sense Configuration settings:

Setting Description
Default Geofence Radius The geofence boundary radius set for the policy (e.g., 500 meters).
Location Update Frequency How often the employee's location is updated (e.g., Every 5 minutes).
Employee Can Create Tasks Indicates whether task creation by employees is enabled or disabled.
Auto Check-In at Task Location Indicates whether automatic check-in at the task location is enabled or disabled.
Proof of Work Required The type of proof required after completing a task (e.g., Photo + Signature Required).
Policy Status Shows whether the policy is currently Active or Inactive.

At the bottom, users can click "Back to List" to return to the policy listing page, or click "Edit Policy" to modify the policy settings.

img