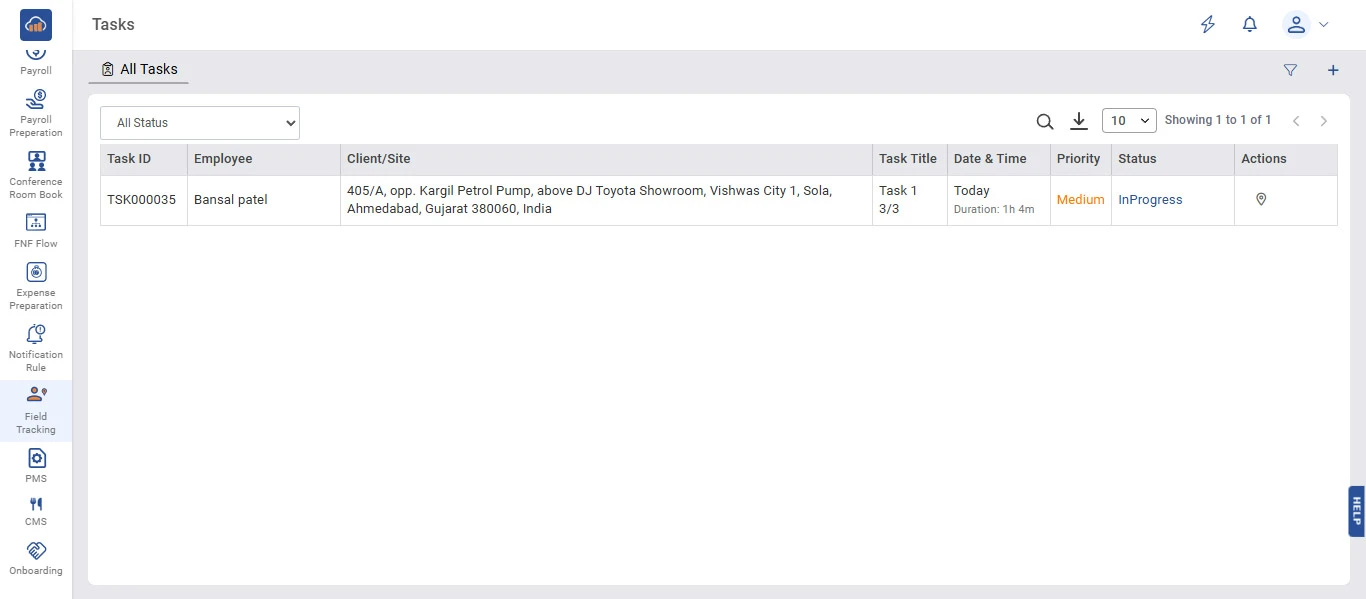
| Field | Details |
|---|---|
| Roles | Admin/Manager Only |
| Type | MINOP - MTrack Management System - Tasks Module |
| Device | Web Application |
The Tasks module in the MTrack Management System enables administrators to create, assign, and monitor tasks for field employees. Tasks are linked to specific client locations, allowing real-time tracking of employee activities, task progress, and completion status. The module provides full visibility into field workforce operations with priority levels, status tracking, and journey monitoring capabilities.
• From the left navigation menu, click on "Field Tracking" to expand the submenu. Then select "Tasks".
• The Tasks page opens with the "All Tasks" tab selected by default. The page displays all tasks in a table with the following columns:
| Column | Description |
|---|---|
| Task ID | Unique identification number for the task (e.g., TSK000035). |
| Employee | Name of the employee assigned to the task. |
| Client/Site | The client location or site address where the task is to be performed. |
| Task Title | Title of the task along with the subtask count (e.g., Task 1 - 3/3). |
| Date & Time | The scheduled date and duration of the task (e.g., Today, Duration: 1h 4m). |
| Priority | Priority level of the task (Low, Medium, High) shown in color-coded format. |
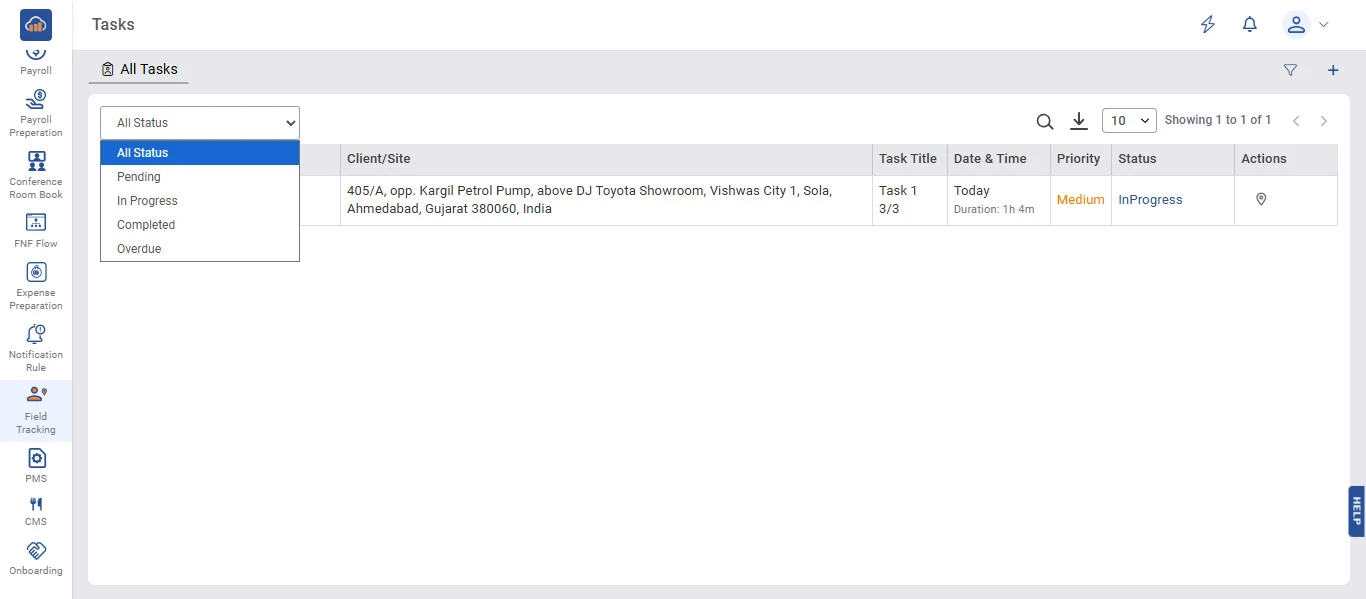
| Status | Current status of the task (Pending, InProgress, Completed, Overdue). |
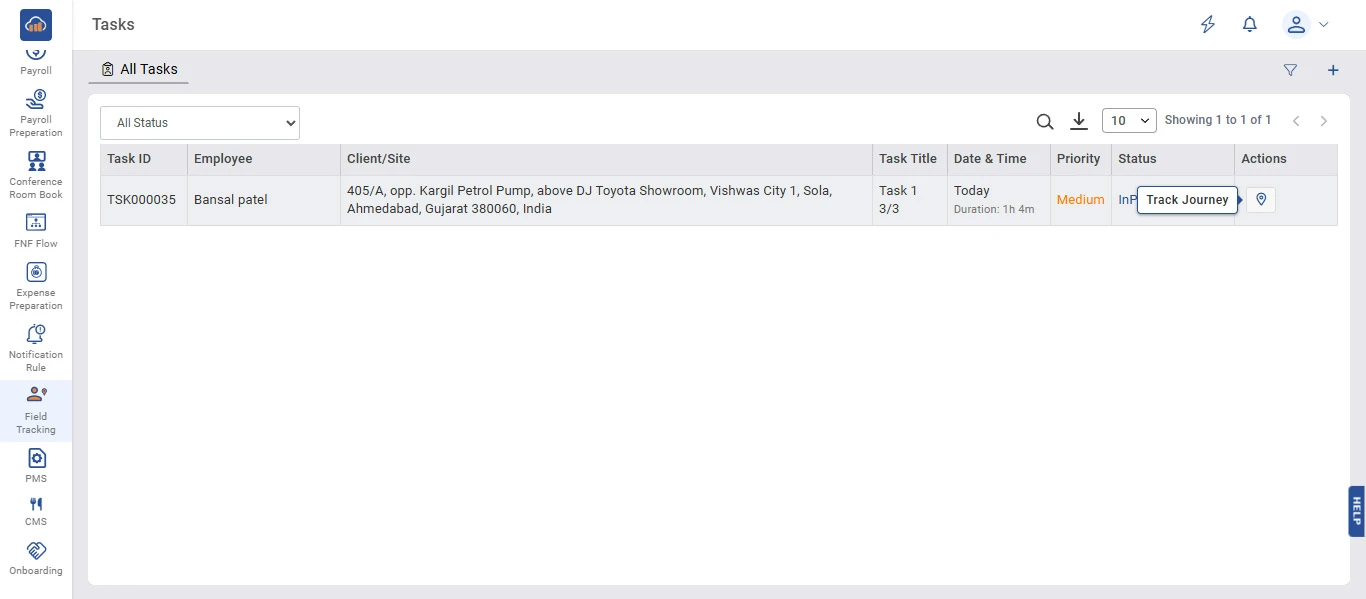
| Actions | Action icons including Track Journey (location icon). |
• Users can use the Search icon to find specific tasks, the Download icon to export data, and the Filter icon to apply filters.
• To create a new task, click the "+" icon button at the top right corner of the page.
• A "Create New Task" side panel will open with the following sections:
| Field | Description |
|---|---|
| Task Title * | Enter the title of the task (mandatory). |
| Description | Enter a detailed description of the task. |
| Priority | Select the priority level from the dropdown (Low, Medium, High). |
| Field | Description |
|---|---|
| Assign To * | Select the employee to assign the task to (mandatory). |
| Location Type * | Select the type of location for the task (mandatory). |
• After filling in all the required details, click "Save Task" to create the task. Click "Cancel" if you do not want to proceed.
• To track the journey of an employee for a specific task, click the "Track Journey" icon (location pin icon) in the Actions column of the respective task row.
• Hovering over the icon will display the "Track Journey" tooltip.
• Clicking this icon will navigate you to the Employee Journey page where you can view the real-time map location, route, and task progress of the assigned employee.
• The Tasks page provides a status filter dropdown at the top left to quickly filter tasks based on their current status.
• Click on the "All Status" dropdown to view the available filter options:
| Status | Description |
|---|---|
| All Status | Displays all tasks regardless of their status. |
| Pending | Shows only tasks that have not been started yet. |
| In Progress | Shows only tasks that are currently being worked on. |
| Completed | Shows only tasks that have been completed. |
| Overdue | Shows only tasks that have passed their due date without completion. |
• Select the desired status to filter the task list accordingly. The table will update to show only tasks matching the selected status.