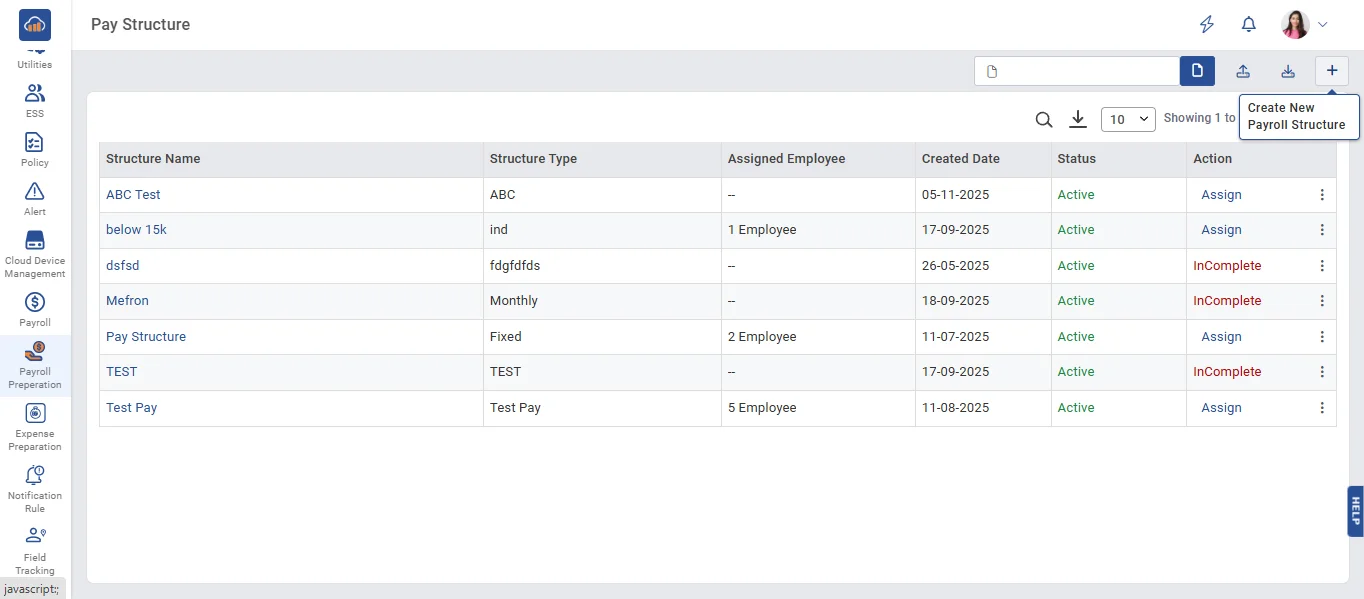
• Pay structure refers to the framework that defines the various components of employee compensation within an organization, such as basic salary, allowances, bonuses, deductions, and other salary elements. It outlines how the total compensation is distributed across these components.
• Click the + Create New Payroll Structure button to create a new pay structure.
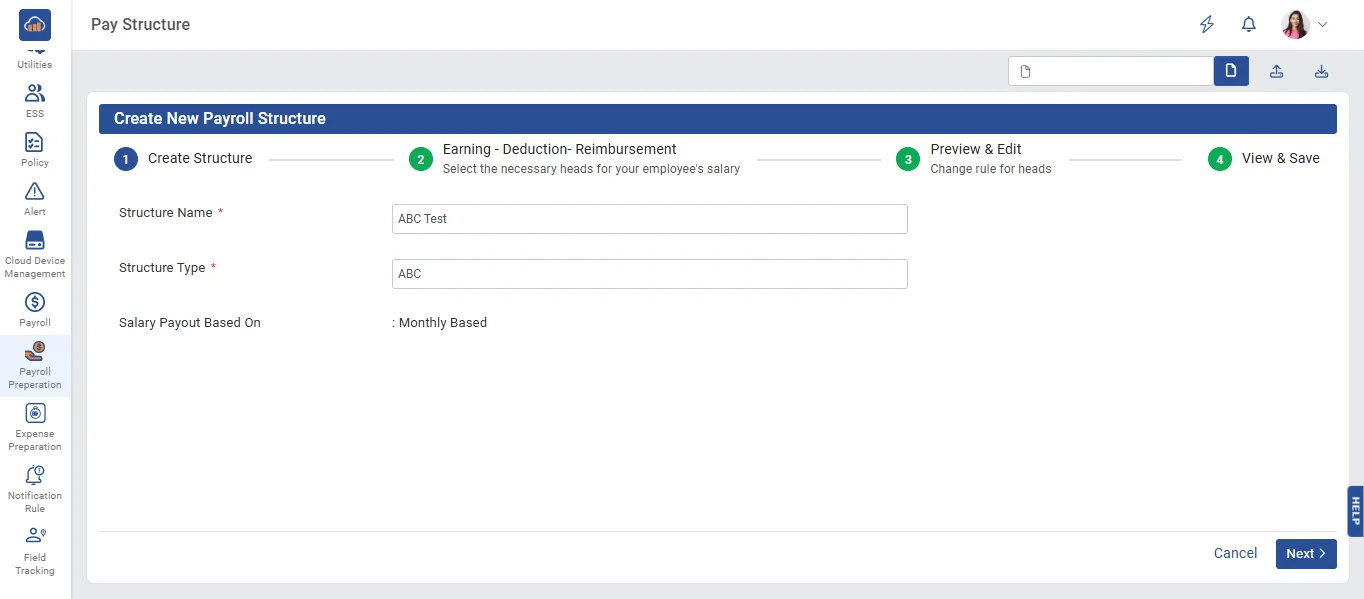
• Now, enter the Pay Structure name and Pay Structure type and select the salary payout based on and click the 'Next' button.
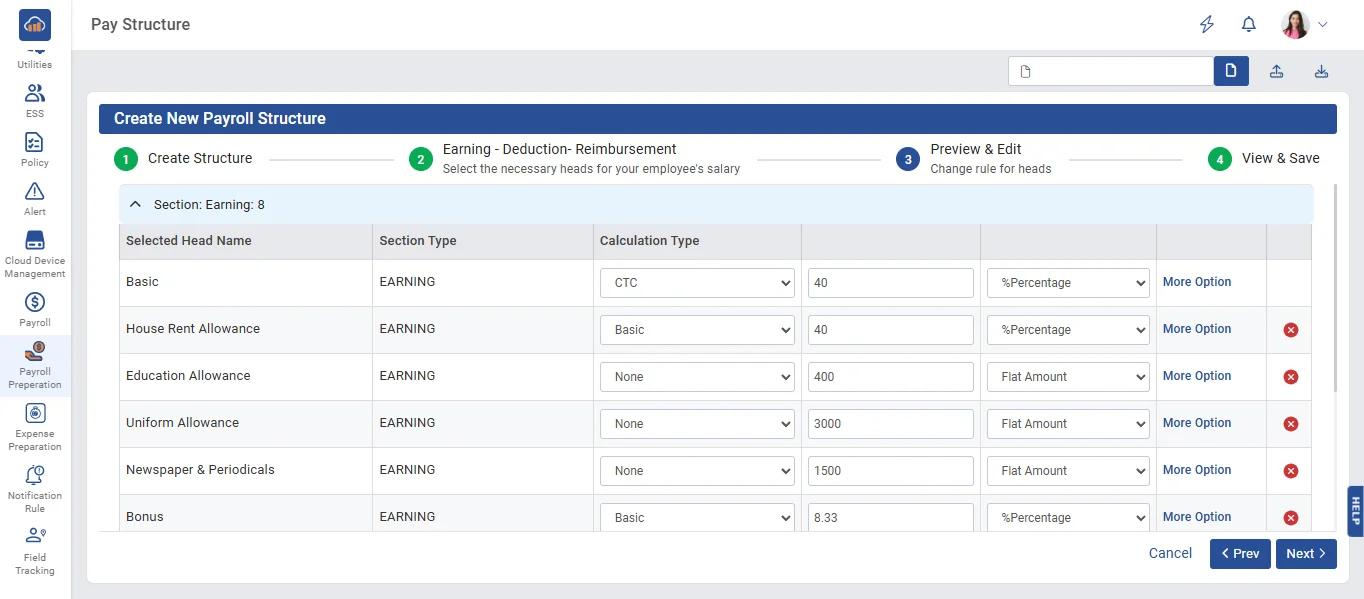
• In Menu of Step 1 - Earning, Step 2 - Deduction, Step 3 - Reimbursment select the heads for the earning part that you require on the payslip.
• Note: If any head you need to select is not present in Step 1, click on 'Create Head' in the top right corner to create the head you want.

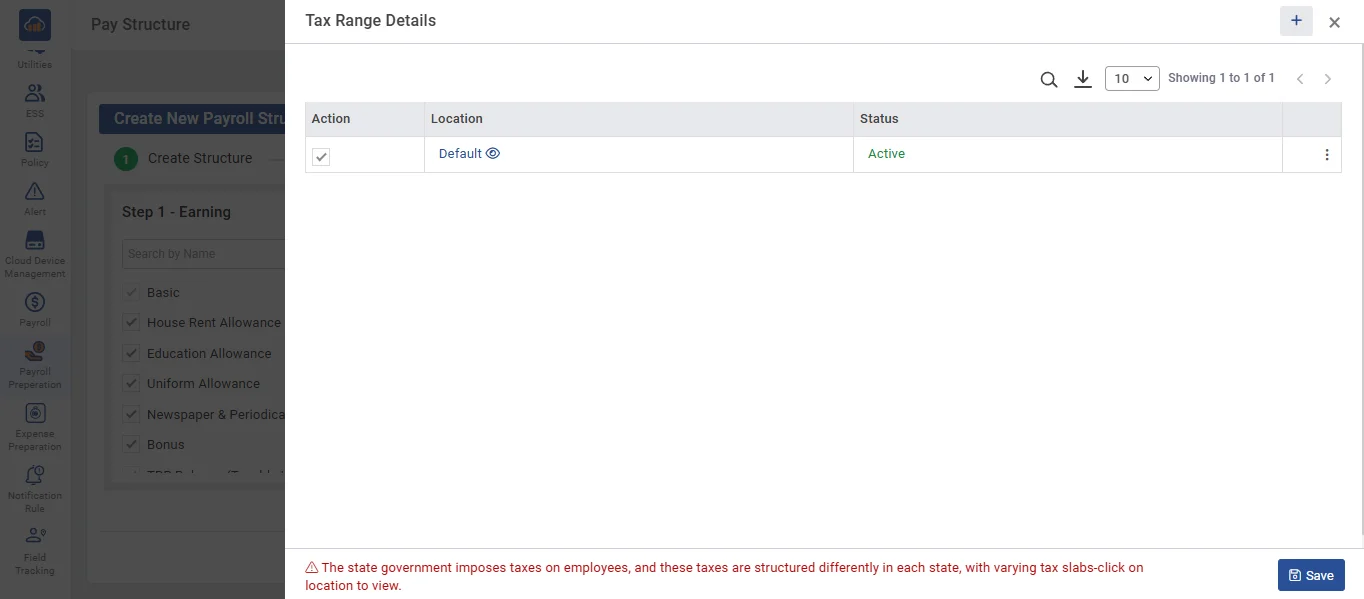
• Templates for PF, ESIC, PT, Gratuity, and OT are available, allowing users to create the ones they need based on their current location.
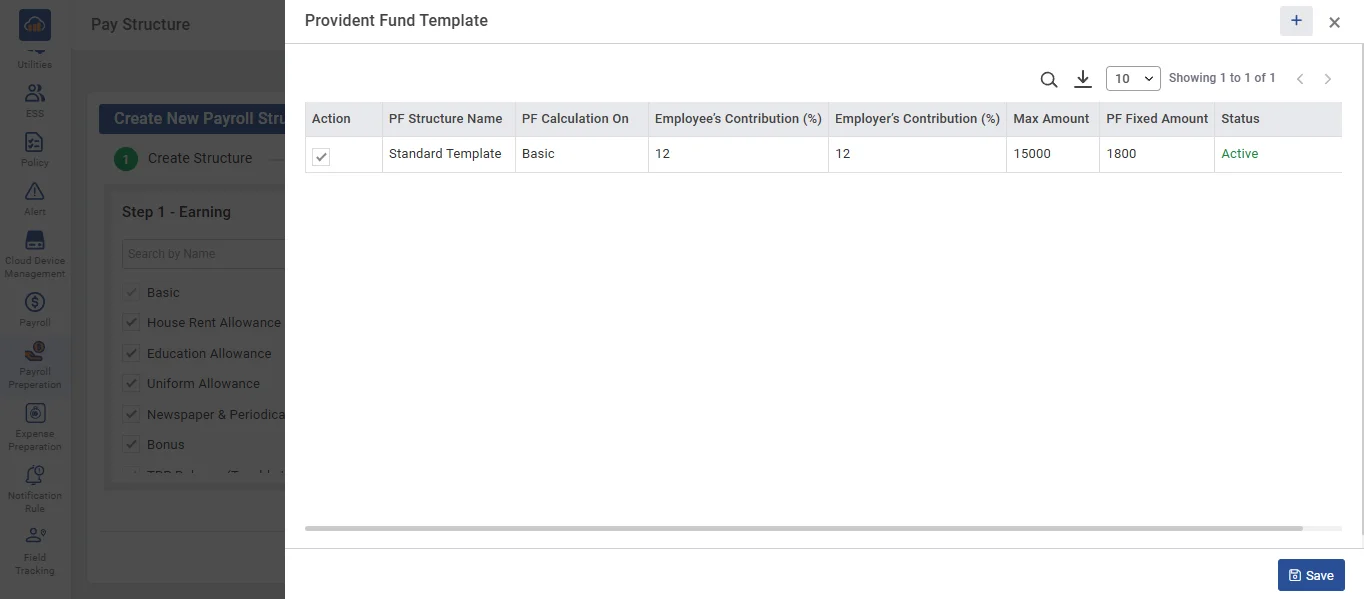
➤ Provident Fund Template
• When you click on 'Provident Fund', the Provident Fund template will open. If the required template is not available, you can create it dynamically by clicking the 'Create' button. Enter the necessary details, then click the 'Save' button.
• Select the standard template and click the 'Save' button.
➤ ESIC Template
• When you click on 'ESIC', the 'ESIC' template will open. If the required template is not available, you can create it dynamically by clicking the 'Create' button. Enter the necessary details, then click the 'Save' button.
• Select the standard template and click the 'Save' button.

➤ PT Template
• When you click on 'PT', the 'PT' template will open. If the required template is not available, you can create it dynamically by clicking the 'Create' button. Enter the necessary details, then click the 'Save' button.
• Select the standard template and click the 'Save' button.
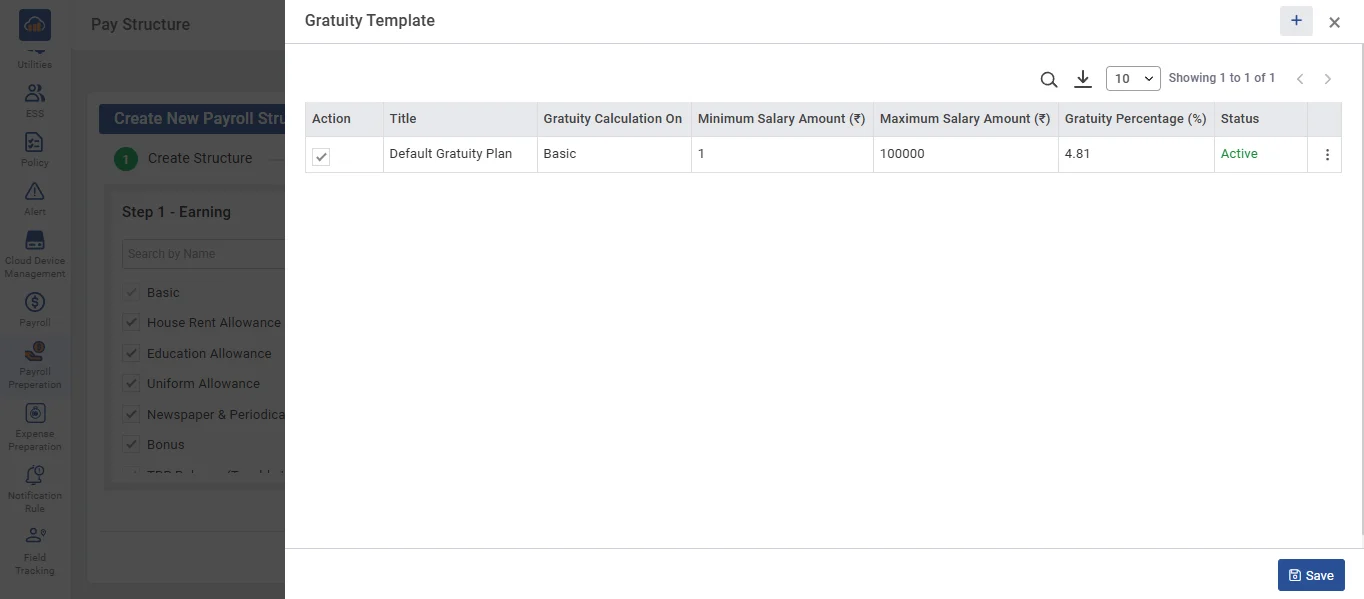
➤ Gratuity Template
• When you click on 'Gratuity', the 'Gratuity' template will open. If the required template is not available, you can create it dynamically by clicking the 'Create' button. Enter the necessary details, then click the 'Save' button.
• Select the default template and click the 'Save' button.
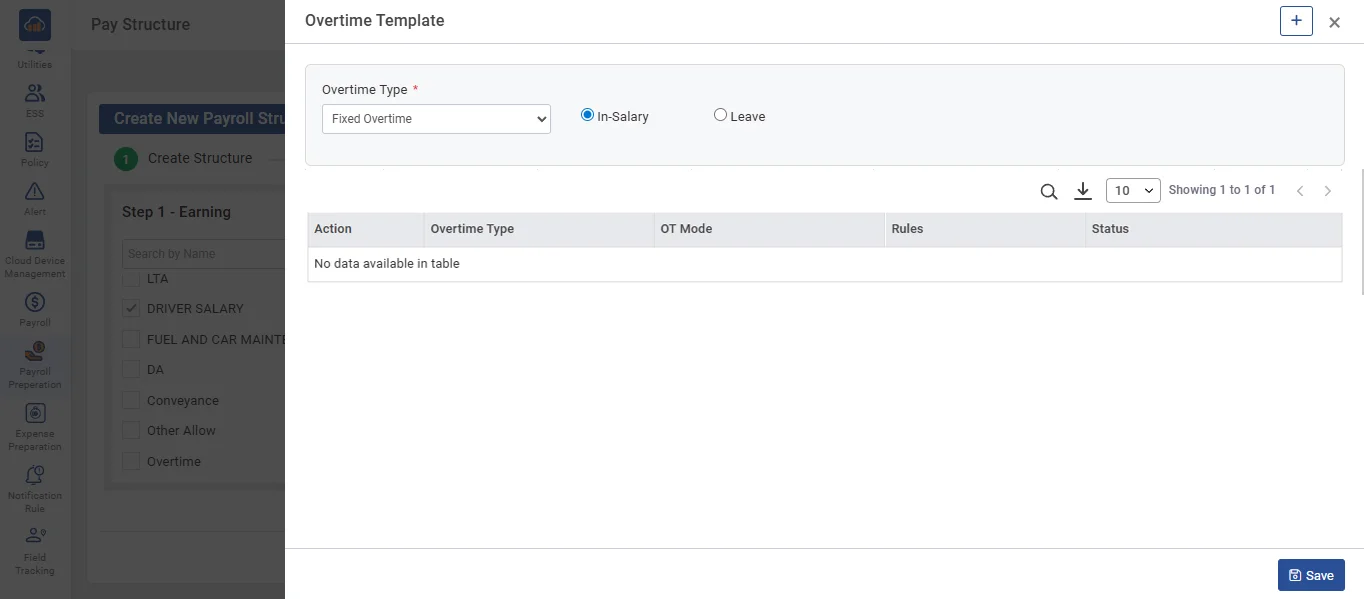
➤ OverTime
• When you click on 'OverTime', the 'OverTime' template will open. If the required template is not available, you can create it dynamically by clicking the 'Create' button. Enter the necessary details, then click the 'Save' button.
• Select the standard template and click the 'Save' button.
• In Menu 2 Step 3, If a Reimbursement Head is required, select the appropriate heads. Otherwise, no selection is needed. Then, click the 'Next' button.
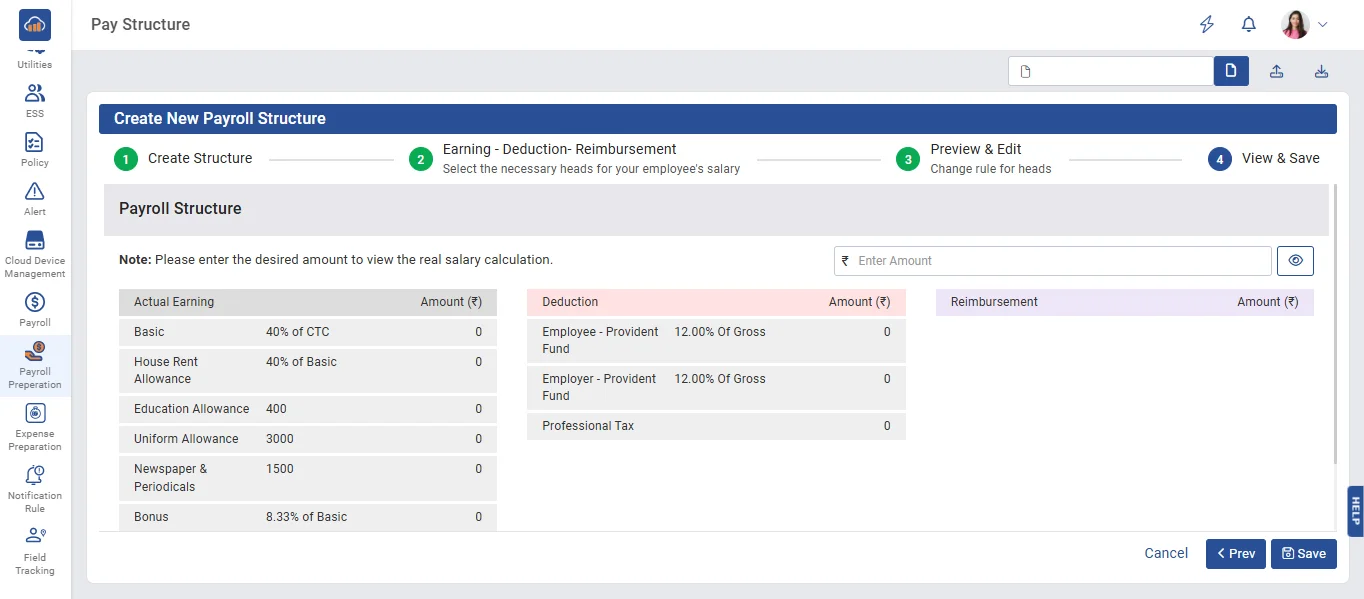
• In Menu 3, the 'Preview & Edit' section allows you to make any necessary changes. Otherwise, you can click on 'Next Step'
• In Menu 4, enter the amount to view the salary breakup details, then click the 'Save' button to save the data.
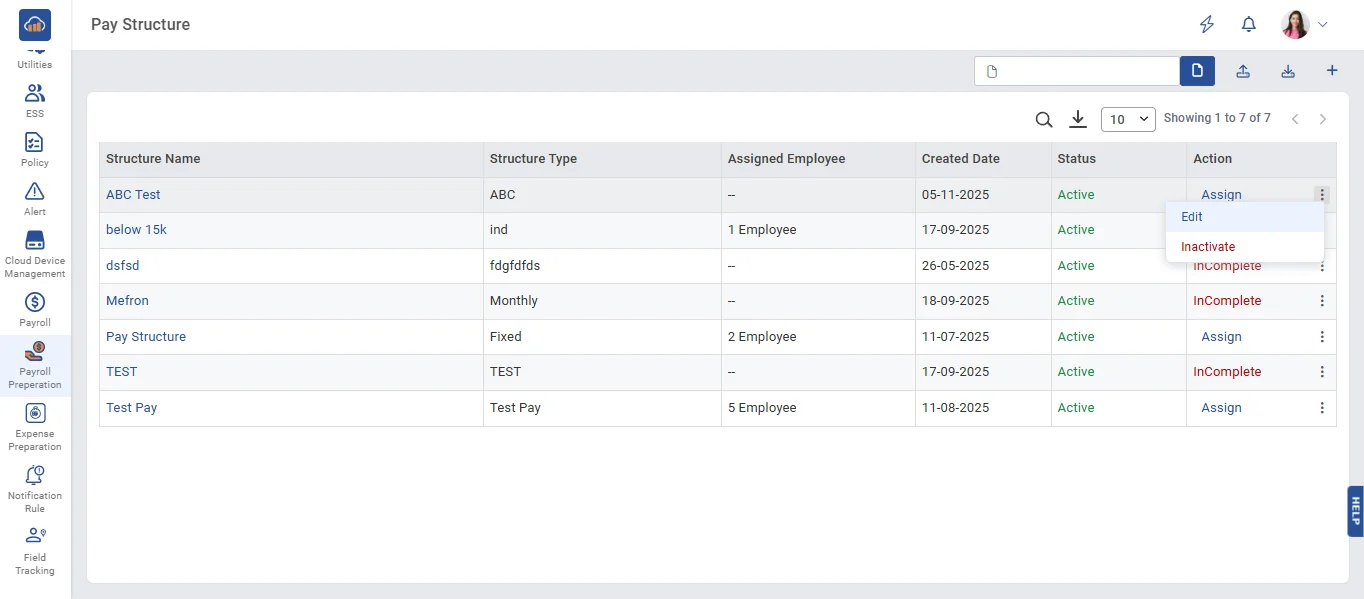
• When the user wants to update the pay structure details , click the 'Edit' button.
• When the user wants to inactivate the pay structure, click on 'Inactivate'. The selected pay structure will be deactivated.
• When the user wants to activate the pay structure, click on 'Activate'. The selected pay structure will then be activated.
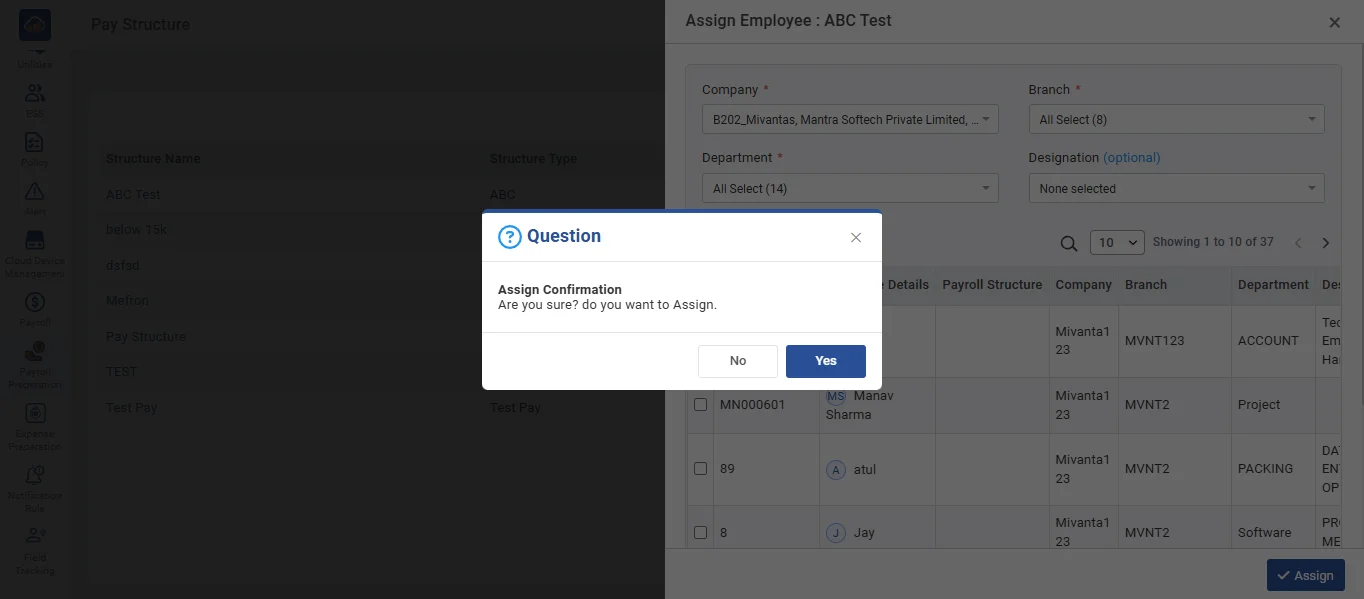
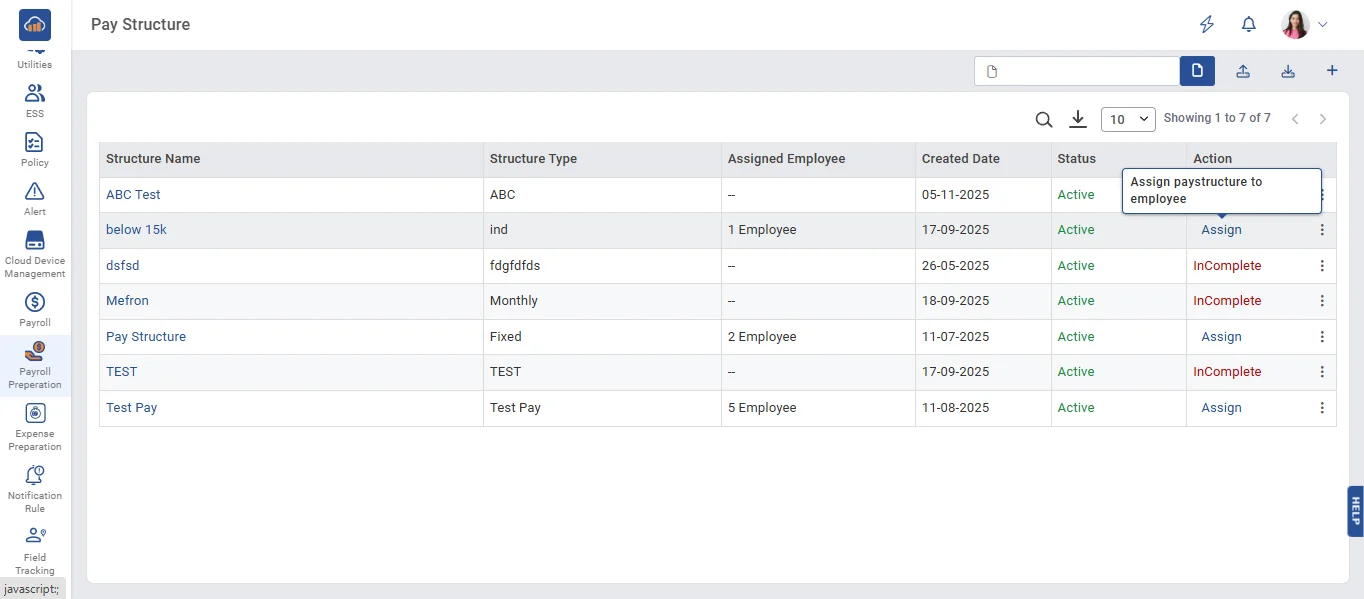
• When the user wants to assign the pay structure, click on the 'Assign' link.
• On the Assign page, select the Company, Branch, and Department. All employees belonging to the selected company, branch, and department will be displayed. Then, select the checkboxes for the employees to whom you want to assign the pay structure.
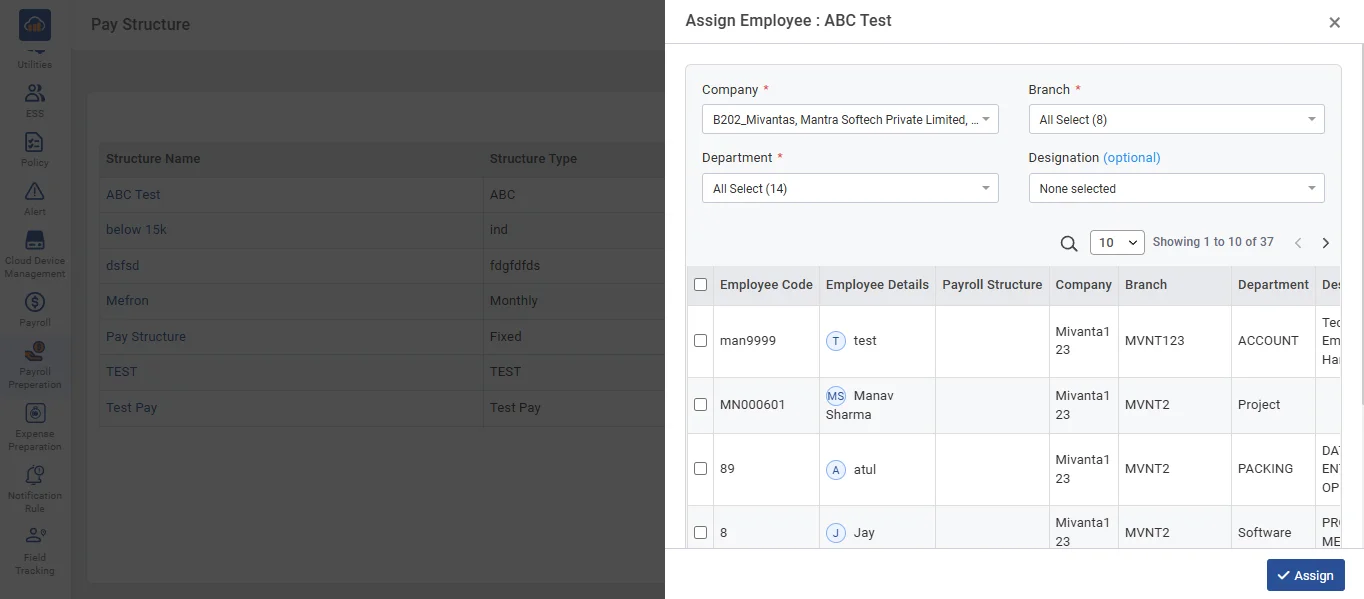
• When you click the 'Assign' button, a confirmation popup will appear. Click 'Yes' to assign the structure or 'No' to cancel.